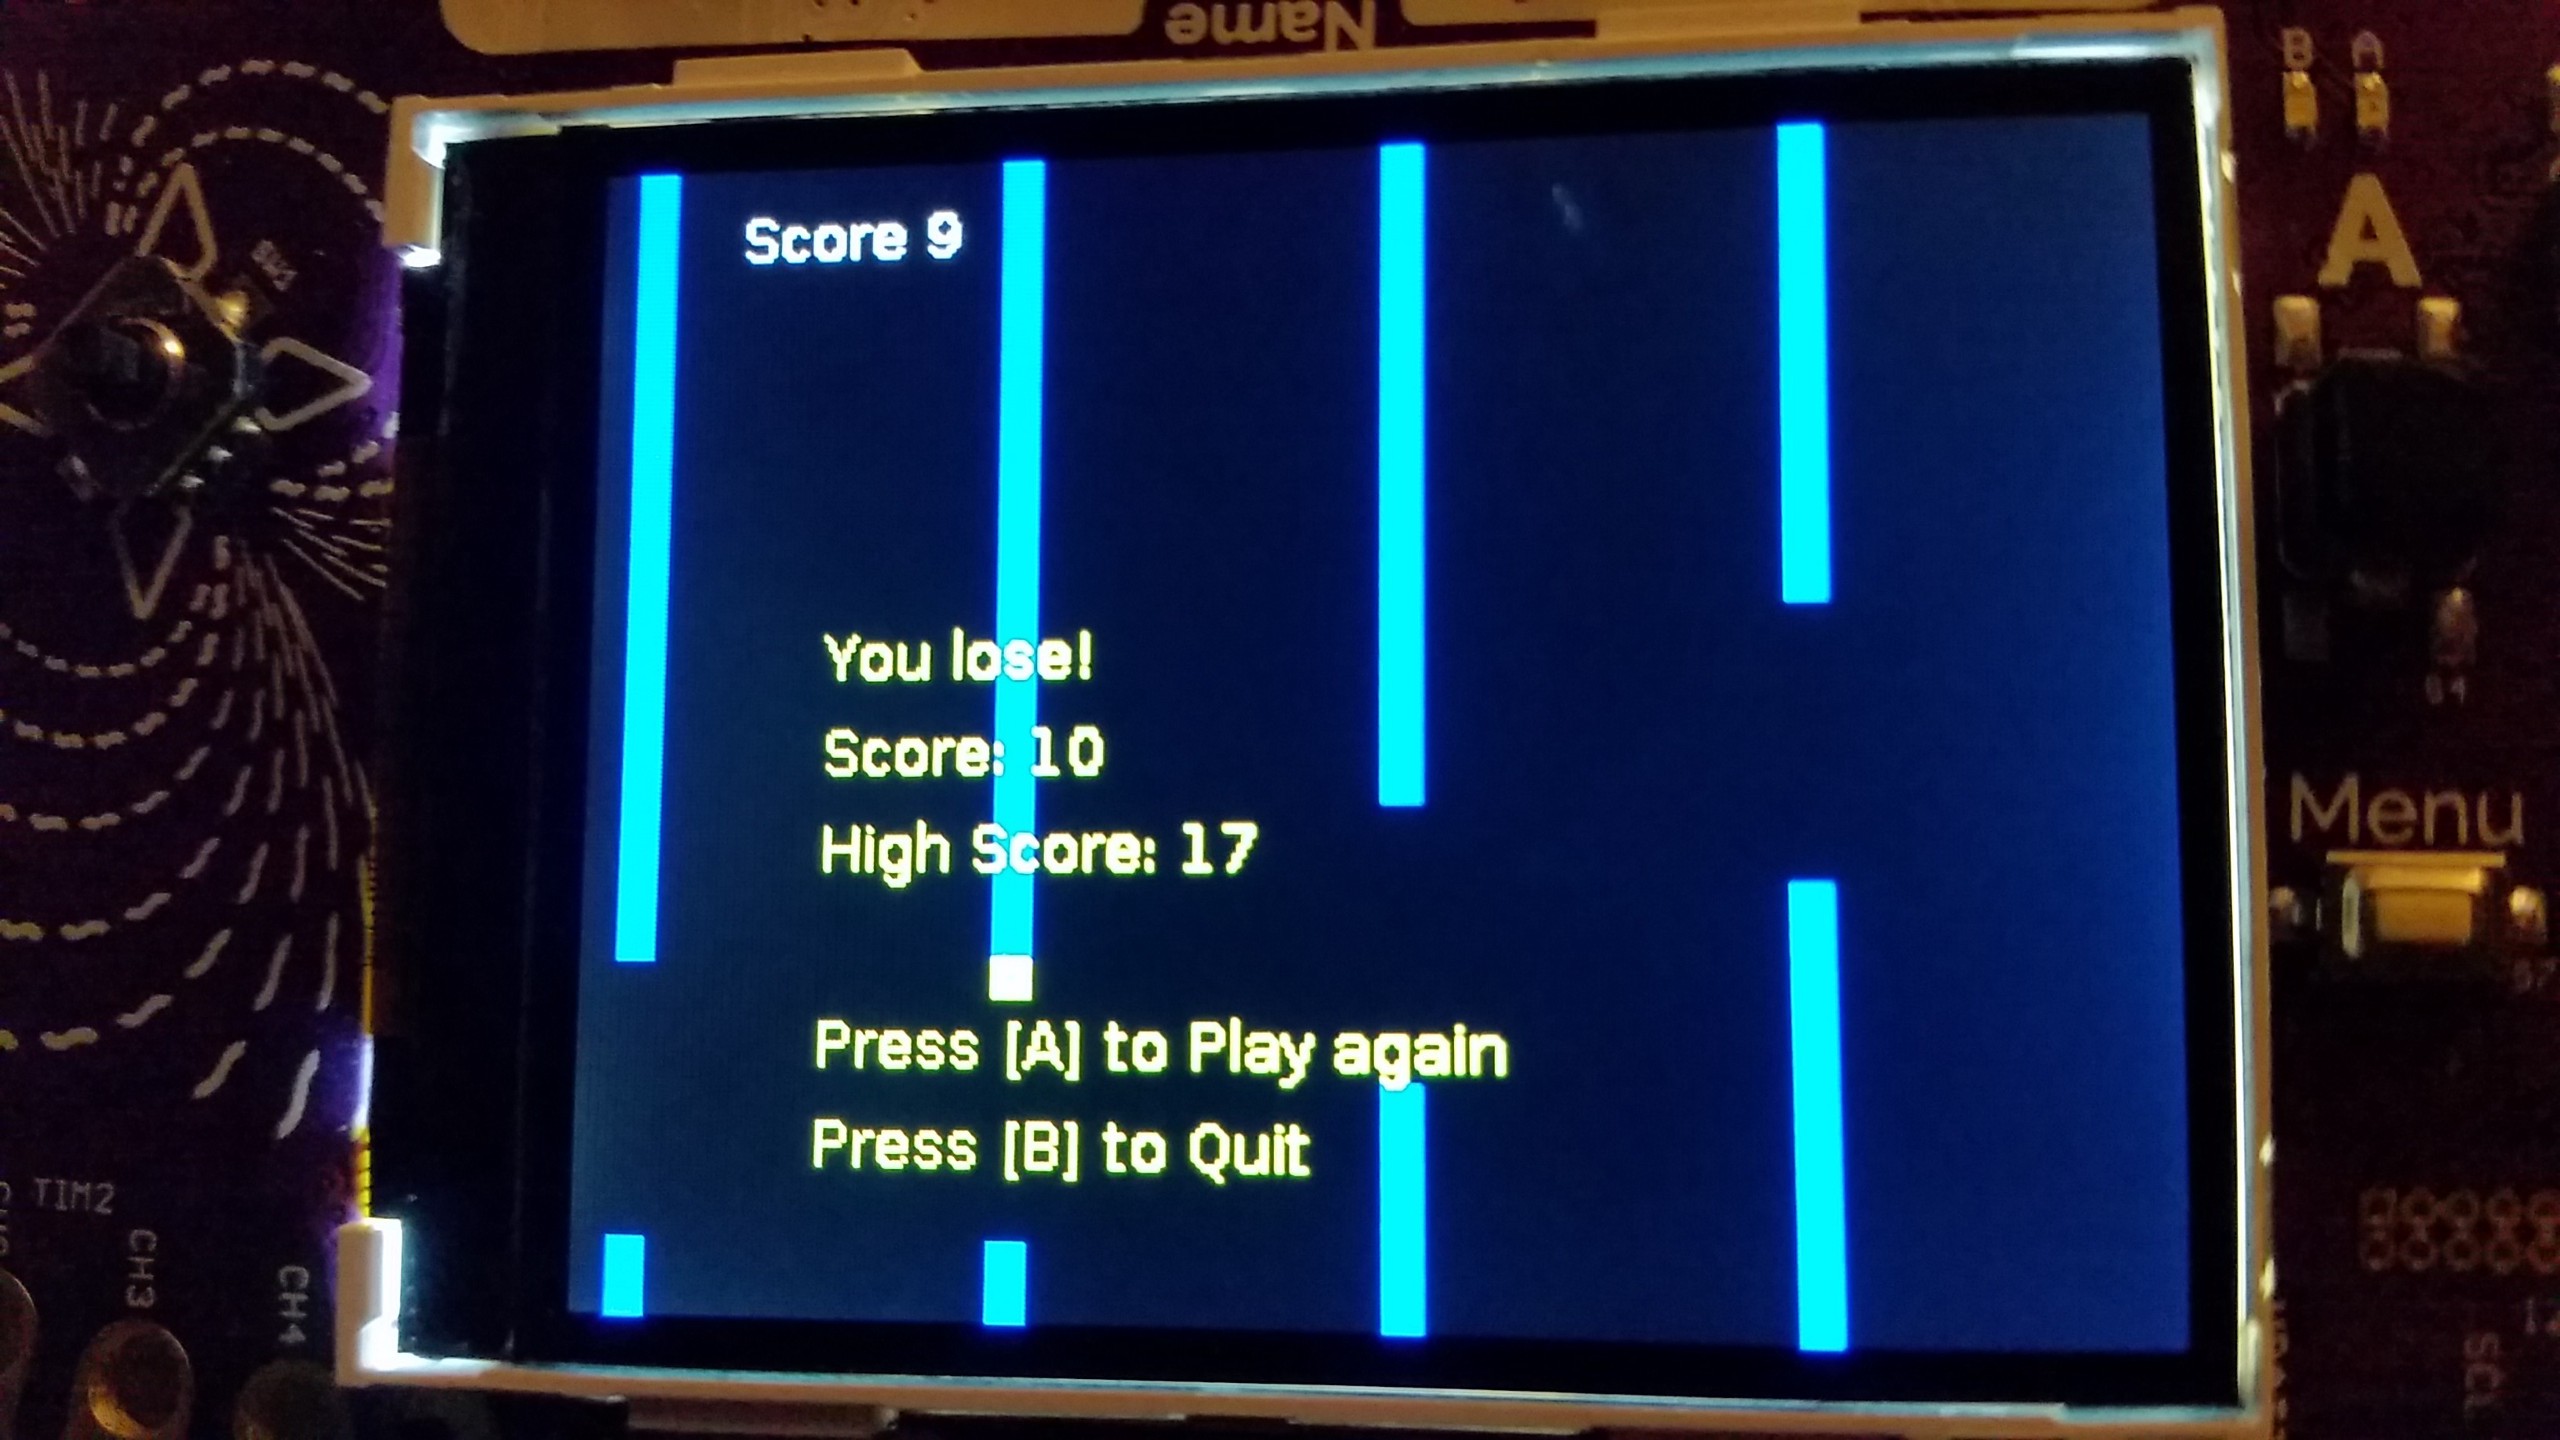
 I lost — again!
I went to Electromagnetic Field, the camping festival for those with an inquisitive mind, and one of the perks was a special badge called the Tilda Mkπ.
The Tilda badge is a neat piece of engineering that is based upon the BBC micro:bit, so it runs a bit of firmware that runs a version of python called Micropython.
My badge came with a number of applications prebuilt, something that shows your name, some settings tools and a game of snake.
More importantly, the badge is fully programmable using python, and while the camp was amazing and full of wonders, I suddenly really wanted to make the badge do something, something cool, something interesting.
The problem is that I’m frequently without an idea in these cases, However I came up with the idea of doing a game, a simple game that can be programmed in just a few hours. I nearly built a frogger style game, but decided in the end to build a Flappy Bird clone.
The main reason for picking Flappy Bird is that it requires only one button, and more importantly, it’s an infinite scroller with a very simple mechanic.
tl;dr; The code is available on github, and you can download the application, either direct or from the app_library on the badge
How to approach it
Once I had decided what I wanted to do, I needed to work out what code to write. Getting the system up and running was simple. Attach the badge to my ubuntu VM, copy a python file called main.py to the apps/bruntonspall~emflap directory, and then select the game from the app_library.
The game has to initialise the graphics and button libraries, set some global variables and then get going.
The application has a main loop that plays a single game, then it prints the scores and end screen stuff, and waits to see if the A or B button is pressed. If the B button is pressed, we quit, if the A button is pressed, we go back round the loop.
In terms of playing the game, we initialise the variables and randomise the pipes. Each pipe is drawn 10 blocks on from the previous pipe, and the gaps are generated as being a random height +- 5 from the previous pipe. This is to ensure that the pipes aren’t generated too far away from the previous pipe which would make the game too hard.
Drawing the pipe is an interesting process. We decide that the pipe is a certain height, say 7 high. But drawing that is quite hard. We draw everything on a grid that goes from 0 on the left to 320 on the right (the x-axis) and from 0 at the top and 240 at the bottom (the y-axis).
Following from the Snake game, I thought that an 8x8 grid was sensible, instead of drawing individual pixels, I draw using 8x8 blocks, which gives us 40 blocks wide and 30 blocks high.
So if we want to draw at 7 blocks high, we draw from 0 to 56 (7*8) high. But we also want to draw the matching pipe on the other side. If our gap is 5 blocks high, this means we want to draw from 96 ((7+5)*8) to 240. (Working out this maths was probably the hardest thing on this project, and yet it feels obvious to me now, the implementation may still be wrong as I write this!)
I also do a horrible thing when drawing the pipes, instead of working out which pipes are visible, I just ask the graphics library to draw the pipes that are off-screen, and hope that the library won’t draw them (it doesn’t). This is probably pretty inefficient, but hasn’t needed fixing yet.
The main loop
Finally, I needed a loop that would draw the screen, check whether anyone had pressed a button and then updating the game state.
The snake app did this in a traditional method, in that it looped, but had a 500ms delay at the end of each loop, so that it doesn’t run too fast. In the Snake app, if the snake moved one block every time round the loop and it managed to run the loop 100 times per second, then you would crash into the wall in about 1/3 of a second!
However, pausing the application for 500ms each time round the loop, means that the input is only read once each time round the loop as well.
For snake, this might work, but it can get irritating quite fast if the input feels laggy or misses a control. In Flappy Bird, you really want the system to feel responsive, so I implemented a different input system.
Instead of pausing as we go round the loop, we check how many milliseconds have elapsed since the last time we went round the loop. If the elapsed time has passed 100ms, then we update the game state and the display. This gives us 10 game “ticks” per second.
In a more physics related game, we might instead perform a game update each time round the loop, but update the game state based on the change in time. This allows us to redraw the screen each time round the loop, and update non player interactions.
In EMFlappy I didn’t need to do all of that, because nothing in the world changes most of the time, we just change the location of the bird. We can do that 10 times a second and it will run just fine.
For the input system, we use an interesting trick. Because the system might check the input hundreds of times per second, we need to not use an input detection function that is multiplicative. Instead we set the bird direction to -2 for as long as the button is held. This will make a difference in 10’s of seconds, but not smaller than that.
Bird Movement
So how do we make the bird appear to bounce and drop?
As any student who has done basic physics will know, gravity on earth causes items to accelerate towards the ground at a speed of 9.8 m/s.
The key about this is that it’s an acceleration. So to model that we store the current position of the bird (x and y), and how much we will change the position next tick (Delta-x, Delta-y or dx,dy for short).
Each tick, I add the dx to the current x to update its position, and the same with dy on y. To model the bird arcing towards the ground, we increase dy by 1 each time round. So at first it might be -2, so our y will go down by 2 (taking us up towards the top of the screen). Next tick, dy changes to -1, so our y only goes up by 1, then dy is 0, and we stay where we are. Then we start to accelerate towards the ground each tick after that, faster and faster each tick.
When you press the A button, we set the dy to be -2, arching you back up for 3 blocks total (-2, -1, 0) over the next 3 blocks going right. But if you hold the button for 2 tenths of a second, you’ll go up by 5 blocks over the next 4 blocks. This makes the input feel right, the quick taps make you pop up, whereas holding the button for a fraction of a second longer makes you pop up slightly higher!
What’s next?
This was fun to put together. I pulled the whole thing together in about 3 hours of hacking. Luckily I have a background in games development, so I knew a bunch of tips and tricks, but I really wanted to knock something together quickly and simply to show what could be done on the badge.
The badge hardware and development environment is blissfully easy, and I’d recommend having a play with it and seeing what can be done.
If people wanted to experiment, I’ve opened the code, freely for reuse, and you could consider a few ideas. I suspect sound effects would be quite cool and add to the feeling of immersion. Better graphics, so pipes that look like pipes, a nice background, scrolling and so forth would make the game feel nicer.
There are undoubtedly bugs in the system, I’m pretty sure there’s something odd about the boundary conditions for hitting the pipes at minimum. Finding and fixing those might be useful.
Finally, actually implementing the infinite scrolling would be nice, although I’ve not managed a higher score than 27! Maybe you are better and need a challenge, and if so, pull requests are welcome.